Complete Coin-Operated Ride Maintenance Manual for Pros
Essential Daily and Weekly Inspection Protocols

Professional operators know that consistent daily inspections form the backbone of any successful maintenance program. The reality is simple: small issues caught early save thousands in repairs and protect your reputation. Let's start with what matters most.
Daily Safety Inspection Checklist
Your day should always begin with a walk-around inspection before any customers arrive. We're looking for obvious safety hazards, but also subtle changes that signal developing problems.
Visual inspection priorities:
- Check all safety restraints and harnesses for wear or damage
- Examine the ride structure for loose bolts, cracks, or unusual wear patterns
- Test emergency stop buttons and safety switches
- Verify that all safety signage remains clearly visible and intact
- Look for fluid leaks beneath motors or hydraulic components
The key here is developing an eye for what's normal versus what's concerning. After a few weeks, you'll instinctively notice when something feels off—trust that instinct.
Don't rush this process. A thorough daily inspection takes 10-15 minutes per unit, but it's the most valuable quarter-hour of your operational day. Document any concerns immediately, even minor ones.
Weekly Mechanical Maintenance Tasks
Weekly maintenance digs deeper than daily inspections. This is when we address wear items and perform preventive tasks that keep major systems running smoothly.
Start with lubrication points. Most rides have 3-5 grease fittings that need attention weekly. Over-greasing causes as many problems as under-greasing, so follow manufacturer specifications exactly. Clean old grease away before applying new lubricant.
Belt tension deserves special attention during weekly checks. Loose belts slip and reduce performance; overtight belts stress bearings and motors. The general rule: belts should deflect about half an inch under moderate thumb pressure at the longest span.
| Component | Weekly Task | Warning Signs |
|---|---|---|
| Drive Belts | Check tension and alignment | Squealing, visible cracks, fraying edges |
| Bearings | Listen for unusual noise | Grinding, squealing, excessive heat |
| Electrical Connections | Check for corrosion | Green residue, loose connections |
Proper Documentation and Record Keeping
Here's what most operators get wrong: they perform maintenance but document it poorly. Good records aren't just for compliance—they help you spot patterns and plan repairs before they become emergencies.
Keep it simple but thorough. Note the date, time, who performed the work, what was done, and any observations. If you replaced a part, record the part number and supplier. This information becomes invaluable when the same part fails in six months.
Digital logs work well if your team uses smartphones consistently. Paper logs work better if you're dealing with greasy hands and outdoor conditions. Pick the system your team will actually use, not the one that looks most professional.
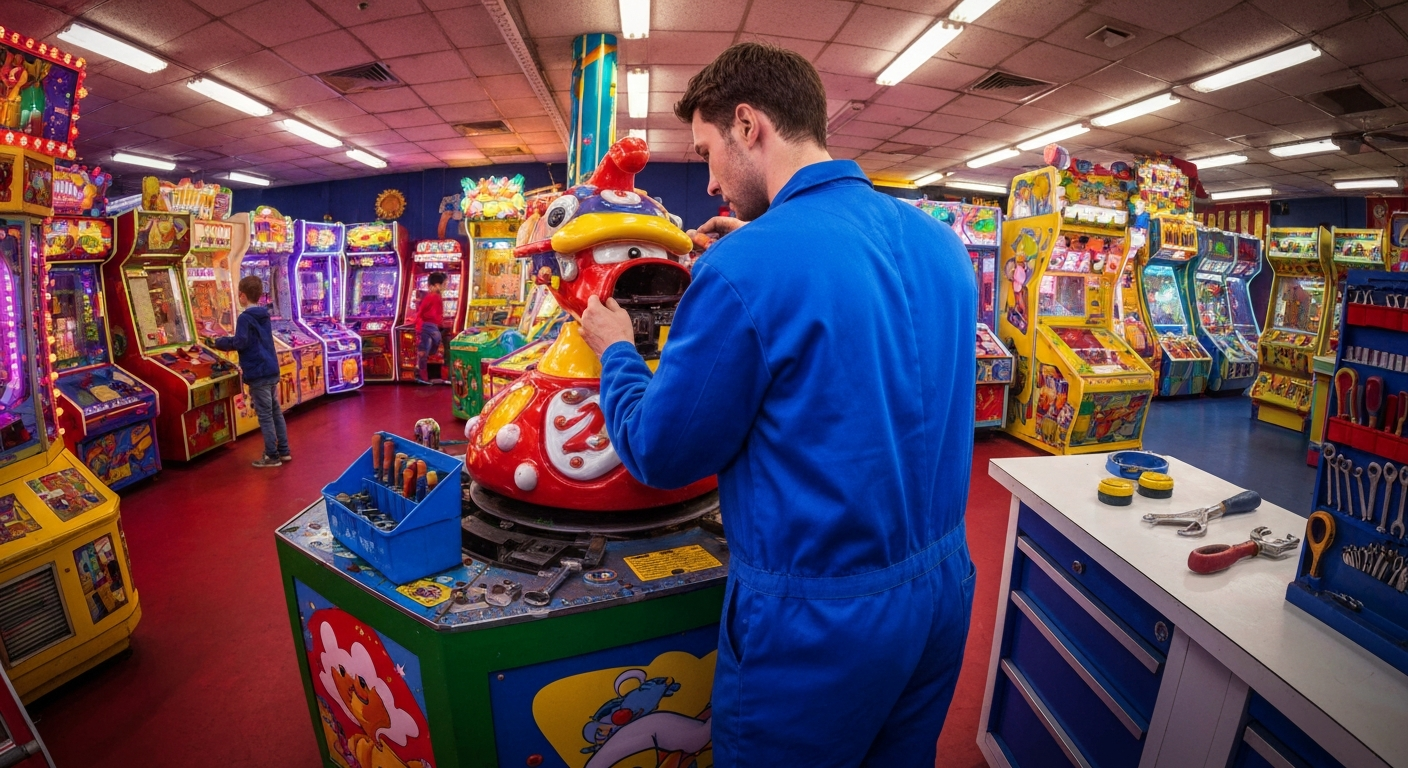
Coin Mechanism Service and Troubleshooting

The payment system is where your revenue lives or dies. Coin mechanisms are surprisingly finicky, and small problems quickly escalate into significant lost income. Regular maintenance here pays for itself within weeks.
Coin Mechanism Cleaning and Calibration
Most coin problems stem from dirt accumulation rather than mechanical failure. Weekly cleaning prevents 90% of payment issues.
Start by powering down the ride completely—never work on coin mechanisms while they're energized. Remove the coin door and clean all surfaces with compressed air first, then follow up with alcohol-dampened cotton swabs for stubborn residue.
Pay special attention to the coin path and sorting mechanism. These areas accumulate lint, candy residue, and general grime that interferes with proper coin recognition. Use toothpicks for tight spaces, but avoid metal tools that might scratch delicate surfaces.
Calibration varies by manufacturer, but most modern systems include a self-test mode. Run this monthly to verify that the mechanism correctly identifies valid coins and rejects counterfeits or foreign currency. Document any drift in acceptance rates.
Troubleshooting Common Payment Issues
The three most frequent complaints: "It took my money but didn't start," "It won't take my quarters," and "It started without coins." Each has distinct diagnostic approaches.
For rides that accept payment but don't start, check the connection between the coin mechanism and the ride controller. Loose or corroded connections cause intermittent signals. Test this by manually triggering the start sequence—if the ride works normally, the problem lies in the payment signal.
Coin rejection issues usually indicate either dirt in the acceptance mechanism or calibration drift. Clean thoroughly first, then run the calibration sequence. If problems persist, the coin sensor may need replacement.
Rides that start without payment typically have a stuck relay or damaged control circuit. This is a safety issue as well as a revenue problem—customers might get injured if the ride starts unexpectedly. Disconnect power immediately and call for professional service if you can't quickly identify the cause.
Motor and Electrical System Maintenance

Electrical work on amusement equipment requires extra caution. These systems carry significant current, and water exposure is common in outdoor installations. When in doubt, call a qualified technician—this isn't the place to learn through trial and error.
Electrical Safety and Testing Protocols
Always verify power is off before opening any electrical enclosure. Use a multimeter to confirm zero voltage, not just the position of breakers or switches. Breakers can fail, and switches can be bypassed.
Monthly electrical testing should include checking ground fault circuit interrupter (GFCI) function, measuring insulation resistance, and inspecting all visible connections for corrosion or overheating. These tests require specific equipment and training—consider contracting this work to qualified professionals.
Weather sealing deserves constant attention on outdoor installations. Check conduit connections, enclosure gaskets, and wire entry points. Water intrusion causes immediate safety hazards and expensive damage to control components.
Motor Lubrication and Performance Checks
Motor bearings are often overlooked until they fail catastrophically. Most ride motors use sealed bearings that don't require regular greasing, but they do need periodic inspection.
Listen to your motors during operation. Healthy motors run with a steady hum. Grinding, squealing, or intermittent noises indicate developing problems. Excessive vibration also signals bearing issues or shaft misalignment.
Check motor mounting bolts monthly—vibration gradually loosens fasteners. Use a torque wrench to verify proper tightness according to manufacturer specifications. Thread-locking compound helps prevent recurring looseness.
Control System Maintenance
Modern ride controllers include diagnostic capabilities that make troubleshooting much easier than older systems. Learn to access and interpret these diagnostic modes—they'll save hours during problem solving.
Keep control enclosures clean and dry. Dust accumulation on electronic components causes overheating, while moisture leads to corrosion and short circuits. Use compressed air monthly to remove dust, but avoid blowing debris deeper into components.
Backup your controller settings regularly. Many systems allow downloading configuration data to a laptop or USB drive. This simple step prevents lengthy reprogramming if the controller fails.
Seasonal Maintenance and Annual Inspections

Seasonal changes stress outdoor equipment in ways that daily operation doesn't. Temperature swings, moisture variations, and UV exposure all take their toll. Professional operators plan for these seasonal impacts rather than reacting to failures.
Seasonal Weather Preparation
Winter preparation starts in late fall, before the first freeze. Drain any water systems completely—trapped water will expand when frozen and crack components. This includes cleaning solution reservoirs, decorative water features, and condensation drains.
Lubrication needs change with temperature. Summer-weight oils become thick and sluggish in cold weather, while light winter lubricants break down quickly in heat. Switch to appropriate seasonal lubricants during spring and fall maintenance cycles.
UV protection matters more than most operators realize. Direct sunlight degrades plastic components, fades paint, and weakens rubber seals. Apply UV-resistant coatings annually, and consider shade structures for valuable equipment in high-exposure locations.
Spring startup requires systematic inspection of every system. Winter can hide developing problems, and the first warm weekend brings eager customers. Check all safety systems twice before reopening seasonal installations.
Annual Safety Certification Process
Most jurisdictions require annual inspections by certified inspectors. Don't wait for the inspector to find problems—conduct your own pre-inspection several weeks early. This gives time to address any issues without disrupting operations.
The inspection focuses on structural integrity, electrical safety, and operational safety systems. Inspectors pay particular attention to wear items like safety restraints, emergency stops, and structural connections that see stress during operation.
Document everything during annual inspections. Photos of problem areas help track deterioration over time and justify replacement decisions. Detailed records also demonstrate due diligence if legal questions arise.
Plan for some component replacement during annual inspections. Items like safety harnesses, electrical contactors, and worn structural bolts have predictable service lives. Replacing them proactively costs less than emergency repairs during peak season.
Emergency Repairs and Parts Management
Equipment failures happen despite the best maintenance efforts. How you respond to emergencies determines whether a minor breakdown becomes a major financial loss.
Emergency Repair Procedures
Safety comes first during emergency repairs. Never attempt quick fixes that compromise operator or customer safety. A broken ride that's properly secured poses no danger; a poorly repaired ride creates liability risks that can destroy your business.
Establish clear shutdown procedures before emergencies occur. Train all staff on when to stop operations immediately versus when problems can wait for scheduled maintenance. Post emergency contact numbers for key suppliers and service technicians where staff can find them quickly.
Keep basic emergency repair supplies on hand: electrical tape, cable ties, basic fasteners, and emergency stop switches. These items can secure a safe shutdown and sometimes enable temporary repairs until proper parts arrive.
Document emergency repairs thoroughly, even temporary ones. Note what failed, when, and under what conditions. This information helps prevent recurrence and guides long-term maintenance planning.
Parts Inventory and Supplier Management
Smart inventory management balances carrying costs against downtime risks. Stock critical safety items and common wear parts, but don't tie up capital in slow-moving components that suppliers can deliver quickly.
Identify your critical suppliers and build relationships before you need emergency parts. A supplier who knows your equipment and payment history will prioritize your urgent orders over unknown customers.
Consider forming buying groups with other operators to leverage volume discounts on common parts. Many components are standardized across different ride manufacturers, making group purchasing practical.
- Stock immediately: Safety switches, emergency stops, common fuses and contactors
- Stock seasonally: Drive belts, basic bearings, cleaning supplies
- Order as needed: Motors, controllers, specialized components
Track parts usage patterns over time. Components that fail regularly might indicate design problems or operational issues that need addressing. Sometimes upgrading to heavy-duty alternatives costs less than frequent replacements.
The thing is, professional maintenance isn't about perfection—it's about systematic attention to detail that prevents problems before they affect operations. Every successful operator develops their own rhythm and priorities based on their specific equipment and operating conditions. Start with these fundamentals, then adapt them to your situation as you gain experience.